How I almost got DDoS'd
· 5min
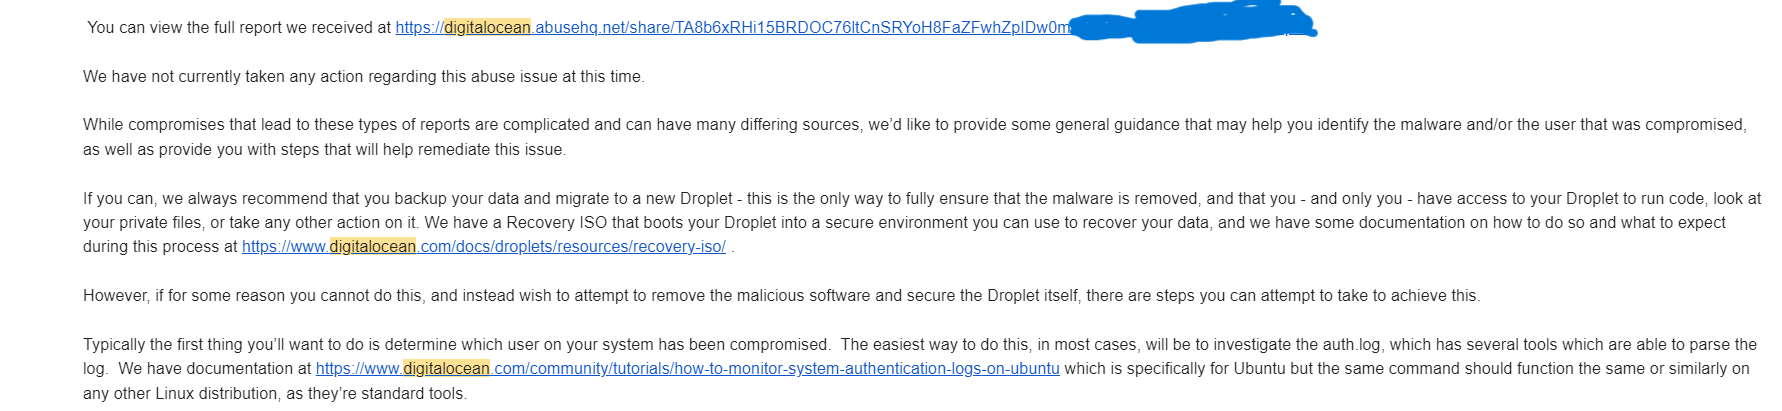
Exactly a month ago, I got an unexpected email from DigitalOcean’s Abuse team. It said my VM had been flagged for attempting SSH brute-force attacks on other servers. My first reaction? “Wait, what? My server’s out there causing trouble?”

While I wasn’t exactly expecting my little side project to be launching an attack, I have to honestly admit when I read “it’s likely that your Droplet has been compromised” - I almost soiled myself.
Here’s What Went Down
So, after the initial email shock wore off, I started combing through the logs to figure out what was going on. Turns out, while my server hadn’t been compromised, it was definitely under siege. Some persistent attacker was throwing all kinds of username and password combos at it, like spaghetti at the wall, hoping something would stick.
And the IPs? They kept changing. It’s likely that the attacker was using some kind of proxies or VPN. Here’s a snippet from the SSH logs:
Wed Sep 18 15:54:59 2024: user: sFTPUser service: ssh target: 77.75.243.10 source: 167.71.224.231
Wed Sep 18 16:18:27 2024: user: root service: ssh target: 37.228.139.5 source: 167.71.224.231
Wed Sep 18 16:25:51 2024: user: student5 service: ssh target: 185.37.221.45 source: 167.71.224.231
The attacker was trying all the usual suspects: root, sFTPUser, and even a random student5. I mean, student5? Really?
How I handled it
While this was clearly an attempt to brute-force their way in, the good news was that I had already set up SSH. I wasn’t exactly winging it on the security front, and this precaution paid off. But, seeing the sheer persistence of these attacks, I realized it was time to tighten things up even more.
Future Notes To Myself
-
Disable Password Authentication: Always disable password-based logins and use only SSH key authentication. Just do it.
-
Set Up Fail2Ban: Fail2Ban acts like an automated bouncer, detecting and blocking malicious login attempts. You might think your server is insignificant, but attackers often target any vulnerable machine, no matter how small.
-
Monitor Your Logs Continuously: Regularly check your server logs for unusual activity. Proactively monitoring logs can help you spot potential threats before they escalate.
-
Restrict SSH Access by IP: If you consistently access your server from a specific location (like home or the office), restrict SSH access to only that IP address. This simple step can prevent 99% of random attack traffic.
Conclusion: No Server Is Too Small to Secure
Here’s the thing: I originally set up this server for a passion project. It wasn’t hosting anything critical, so I didn’t expect it to be a target. But as I learned the hard way, even the smallest, seemingly insignificant VMs are potential gold mines for attackers.